DMX Lighting with AirTurn
We’ve all been there: you go to a show and notice the lighting is seriously cool; from the color changes to the timing to the strobes, it’s just ON POINT. You think to yourself, “Wow this band must have their own lighting tech, a real pro.” Now brace yourself. Go ahead. Maybe have a sit. Are you ready? Ok. Here’s the thing: Musicians can do this themselves now.
It’s okay. Take a minute, breathe nice and slow.

It may sound daunting to run your lights while you’re performing, but it’s never been easier. Plus it puts your show in your own hands, no more trusting a mysterious stranger of questionable sobriety hiding behind a big scary board. Currently, there are only a few options for controlling DMX lights wirelessly, some of which require you to purchase Bluetooth specific lighting fixtures. However, with a little set up on the software side, your AirTurn pedals or remotes can be used to control your DMX rig! If you can dream it, you can do it! At least with AirTurn you can ;)
To get started, you first must enter the world of MIDI and DMX. You might already be familiar with MIDI as it’s been around since your grandpappy was cutting up the dance floor. DMX is a lighting control protocol and the common language for most lighting hardware and software. Most software programs that are used to program a DMX light show can be used with MIDI. Think of them as the two sides to the lighting-control coin.
Generally the idea is to connect your light fixtures to a computer, program the light show in your software, and execute lighting changes with a MIDI controller such as an AirTurn device.
Software
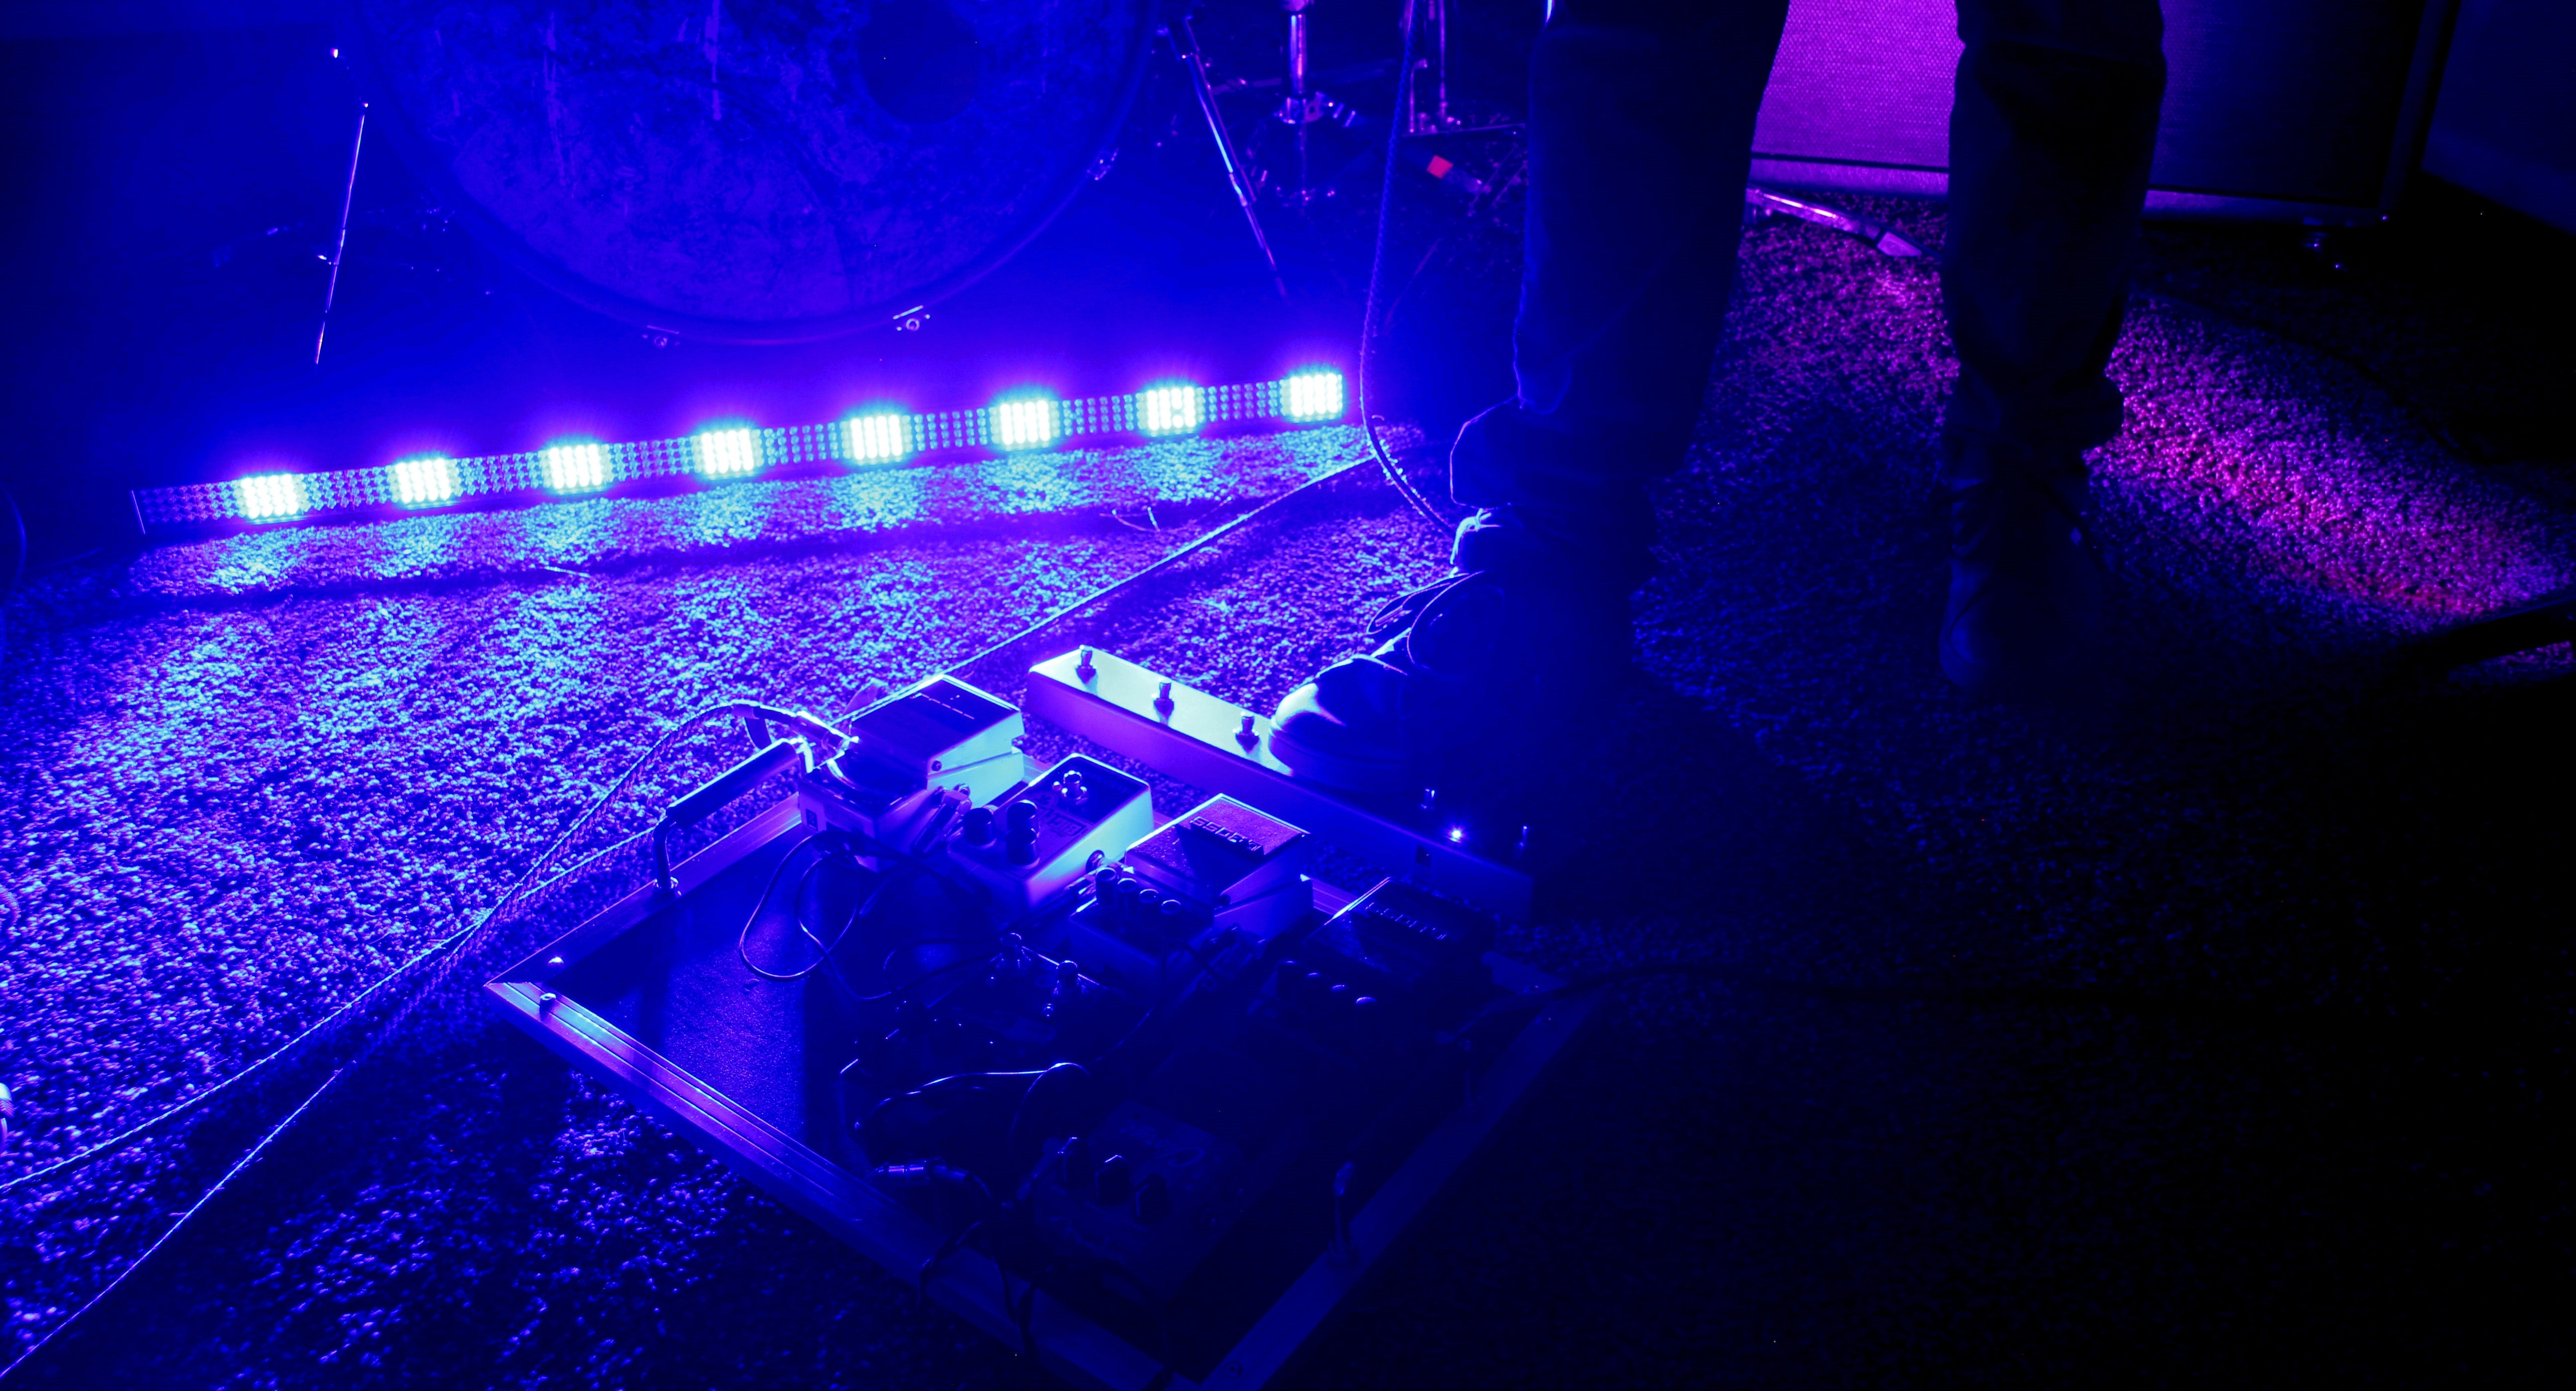
Obviously, every piece of lighting software is slightly different with its own set of pros and cons, but I’ve been really impressed with Lightjams as it’s highly capable while being user friendly. As is the case for most programs, designing your lightshow is as simple as assigning your fixtures to a channel and mapping attributes such as hue, saturation, intensity, etc to a grid of scenes that you can then move through with the click of a pedal.
 Let’s say the beginning of your performance is lively and calls for warm colors like red, orange, and yellow; and the next section of the performance mellows out and needs dimmer cold colors like purple and blue. When that section approaches you can simply click your pedal to move to the next scene in Lightjams and bam, your color change is complete with one press. With enough swiches at your feet, say with an AirTurn BT200S-6, you can even assign switches to trigger any number of fixtures to strobe, blackout, or whiteout during any of your pre-programmed scenes. Control freaks take note!
DMX Interface & Cables
In order to connect your light fixtures to a computer, a DMX interface is needed. These come in single, dual, four, or multi-channel options depending on how many fixtures being used and the complexity of the light show. For most beginner to advanced uses, a single or dual channel interface will suffice. In my experience Enttec and DMX King interfaces are the way to go. Most of these devices connect to your computer via USB, however you will need DMX cables to connect the fixtures. These cables come in 3 and 5 pin, depending on what hardware combo you end up with you’ll need some combination of the two cables. (Most interfaces require 5-pin and fixtures require 3-pin.)
Fixtures (The Fun Stuff)
When it comes to light fixtures, the possibilities really open up.  DMX light fixtures come in all sorts of shapes, sizes, colors, and features. From simple monochrome LED’s, to programmable swivelling heads, dimmers, even down to dummy construction lights, if it lights up it can be put under your control. DMX dimmer interfaces can be used to turn a non-DMX fixture into a piece of your DMX chain. For proper DMX fixtures, look to Enttec, Martin, American DJ, Chauvet, and more.
MIDI Control
In order to achieve ultimate photon-control independence, you’ll want to go into your lighting software of choice and assign actions to a MIDI CC or MIDI Note. This assigns a specific lighting change action to a pedal or button on your controller. Once you’ve done this, connect your AirTurn to the AirTurn Manager App and assign your switches with the MIDI CC or MIDI Note’s you programmed in the lighting software. This allows you to press a footswitch for color changes, strobe effects, blackouts/whiteouts, enable/disable specific fixtures, even initiate complex patterns and scenes. Any lighting events you can design in the software are just a foot-press away!
